7 Tips for Choosing the Right Foot Pedal Valve
Selecting the right Foot Pedal Valve can improve control, safety, and operator comfort in many pneumatic systems. However, the best choice depends on more than appearance or price. Port size, operating pressure, valve function, mounting style, and pedal design all affect real performance. A valve that feels solid in a catalog may become awkward beside a workbench.
Small details matter.
This guide presents seven practical tips for making a more reliable decision. It considers lessons from industrial maintenance, equipment installation, and everyday operator feedback. For example, a mechanic may need a guarded pedal in a busy workshop. A packaging operator may value a smooth return spring and easy cleaning. These needs are not interchangeable. Checking the manufacturer’s pressure ratings and technical documentation is essential. Independent testing or professional advice can also reduce avoidable mistakes.
No selection is perfect.
Even experienced buyers sometimes focus too heavily on airflow and overlook foot clearance. Others choose a low-cost model, then discover that replacement seals are difficult to obtain. That kind of mistake is frustrating, but it is also useful evidence. A careful review should ask how the Foot Pedal Valve will behave after months of dust, repeated cycles, and accidental side pressure. The following tips will help compare practical features, confirm system compatibility, and identify weaknesses before installation. Recheck the details.
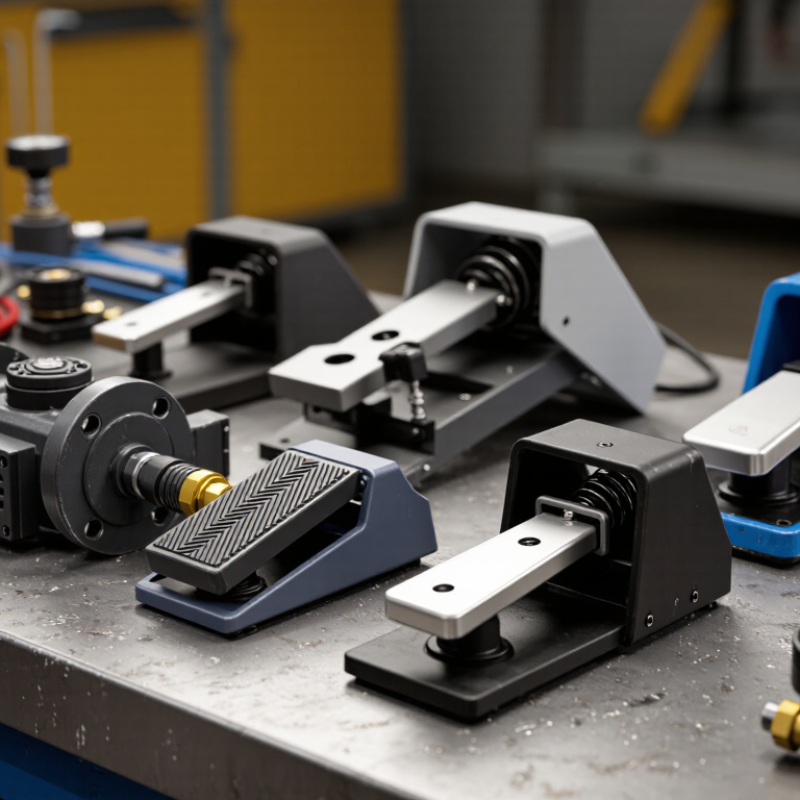
Define the Application and Operating Requirements
Choosing a foot pedal valve begins with the application, not the catalog image. Define what the valve must control and how operators will use it. Is the system pneumatic, hydraulic, or low-pressure air? Record the working pressure, temperature, flow rate, and connection size. Small mismatches can cause slow cycling, leakage, or unsafe movement.
Think about the operator’s position. A valve under a workbench may require a guarded pedal. A floor-mounted unit may need a broad, non-slip surface. Consider how often the pedal will be pressed during each shift. Repeated operation demands smooth movement and low effort. Measure twice.
Failure behavior also matters. Decide whether the actuator should stop, return, or continue when the pedal is released. For equipment near moving parts, a spring-return function may offer better control. However, it should match the machine’s actual risk assessment and operating procedure. A convenient feature is not automatically a safe one.
In one workshop, a valve worked well during testing but became awkward after operators wore heavy safety shoes. The design had ignored real working conditions. That mistake changed the selection process. Test the pedal with gloves, footwear, dust, moisture, and normal production speed. Check available space and maintenance access before approval. Ask a qualified technician to verify pressure limits, connections, and applicable safety requirements. A short trial often reveals more than a perfect specification sheet.
7 Tips for Choosing the Right Foot Pedal Valve: Define the Application and Operating Requirements
Typical pneumatic foot pedal valve applications operate near the 4–8 bar supply range. Confirm the required pressure, flow rate, port size, actuation method, environmental conditions, and safety requirements before selecting a valve.
The values show representative operating-pressure targets for common pneumatic applications. Actual requirements depend on the actuator, load, air consumption, and control-system design.
Match Valve Type, Port Size, and Flow Capacity
7 Tips for Choosing the Right Foot Pedal Valve
Match Valve Type, Port Size, and Flow Capacity
A foot pedal valve should match the actuator, not just the operator’s preference. For a single-acting cylinder, a 3/2 valve may provide the needed extend-and-return function. Double-acting cylinders usually require a 4/2 or 5/2 configuration. Check whether the pedal should spring back, lock in position, or remain neutral. A small mismatch can cause unexpected movement.
Port size matters, but it does not tell the whole story. A 1/4-inch port may suit a compact actuator, while a larger cylinder could need 3/8-inch or 1/2-inch connections. I have seen installations with oversized ports that added cost without improving speed. Measure the tubing length, fitting restrictions, and working pressure. Then compare the valve’s rated flow capacity, often listed as Cv or standard flow rate.
Flow demand deserves a practical test. Observe the cylinder at startup, under load, and during repeated cycling. If movement feels slow, the problem may be a restrictive fitting rather than the valve itself. Leave reasonable capacity for pressure loss, but avoid choosing the largest valve automatically. I once focused too heavily on maximum flow and overlooked pedal effort and mounting space. That choice worked technically, but it was awkward for daily operation. Verify thread compatibility and exhaust routing before installation. Small details matter.
Evaluate Materials, Durability, and Environmental Resistance
7 Tips for Choosing the Right Foot Pedal Valve
Evaluate Materials, Durability, and Environmental Resistance
Material selection affects safety, service life, and operating consistency. Stainless steel resists moisture and many cleaning chemicals. Brass offers reliable strength in controlled industrial areas. Aluminum reduces weight but may need extra surface protection. Do not judge materials by appearance alone.
Seals deserve equal attention. Nitrile rubber handles many oils, while EPDM performs better with water and some detergents. Fluorocarbon seals tolerate higher temperatures and aggressive fluids, but they cost more. Check the actual temperature range, pressure, and fluid composition before choosing. Small differences matter.
The working environment can expose weak designs quickly. A wet workshop floor may demand corrosion-resistant hardware and a textured pedal surface. Dusty areas need protected moving parts. Cold rooms can stiffen seals and increase operating force. Repeated foot impacts also test the pedal hinge, return spring, and mounting bolts.
Field inspections often reveal problems that product sheets miss. A valve may resist corrosion but still collect dirt around its pivot. I once underestimated that detail during a maintenance review. The valve worked, but cleaning took too long. Look for accessible fasteners, replaceable seals, and a stable base. Test the pedal with work shoes, gloves, and normal operating pressure. A perfect specification means little if the operator cannot control it comfortably.
Compare Safety Features, Compatibility, and Total Cost
7 Tips for Choosing the Right Foot Pedal Valve
Compare safety before chasing a low purchase price. Tip 1: Check for a guarded pedal, a stable anti-slip base, and a positive return action. These features reduce accidental activation when an operator shifts position. Tip 2: Confirm whether the valve holds its setting or returns immediately after release. I once underestimated this difference during a workshop trial. The pedal felt comfortable, but its return behavior did not suit the machine cycle.
Tip 3: Match the valve’s pressure rating, port size, flow capacity, and operating medium with your equipment. Review the technical sheet, not only the product photograph. Tip 4: Consider installation space and hose routing. A compact valve may still create sharp bends or difficult access under a workbench. Tip 5: Check temperature, dust, moisture, and cleaning conditions. A component used near coolant needs different protection than one inside a dry assembly area. Small details matter.
Tip 6: Calculate total cost across the service life. Include fittings, mounting hardware, inspection time, replacement parts, and possible downtime. A cheaper valve can become expensive after repeated leaks or awkward maintenance. Tip 7: Ask for test data, dimensional drawings, and clear replacement guidance. Reliable documentation supports safer decisions and easier training. I would also test the pedal with actual footwear, because gloves and shoes can change control noticeably. That practical check is easy to skip.
