How to Remove Mold from a Toothbrush?
toothbrush mold can turn a familiar bathroom routine into a small but unsettling hygiene question. A dark spot near the bristles may be mold, residue, or something else, so appearance alone cannot confirm it. The setting matters: a damp brush left in a closed travel case dries slowly, while a brush stored upright with airflow has a better chance to dry between uses. Small habits count.
A 2013 NSF International Household Germ Study found coliform bacteria on 27% of sampled toothbrush holders. That result concerns holders, not toothbrush bristles, and coliform bacteria are not mold. It is a useful warning about bathroom surfaces, not proof that a particular brush is contaminated. The American Dental Association recommends rinsing brushes after use, storing them upright, and letting them air-dry; it also advises replacing them about every three to four months, or sooner when bristles are frayed. For a brush with visible growth, careful judgment matters. I would not assume every speck is mold, and I would not rely on a quick rinse to remove it. This guide explains how to assess toothbrush mold, clean the surrounding holder, and decide when replacing the brush is the safer choice. Some uncertainty remains. A clean-looking brush is not a laboratory-tested brush.
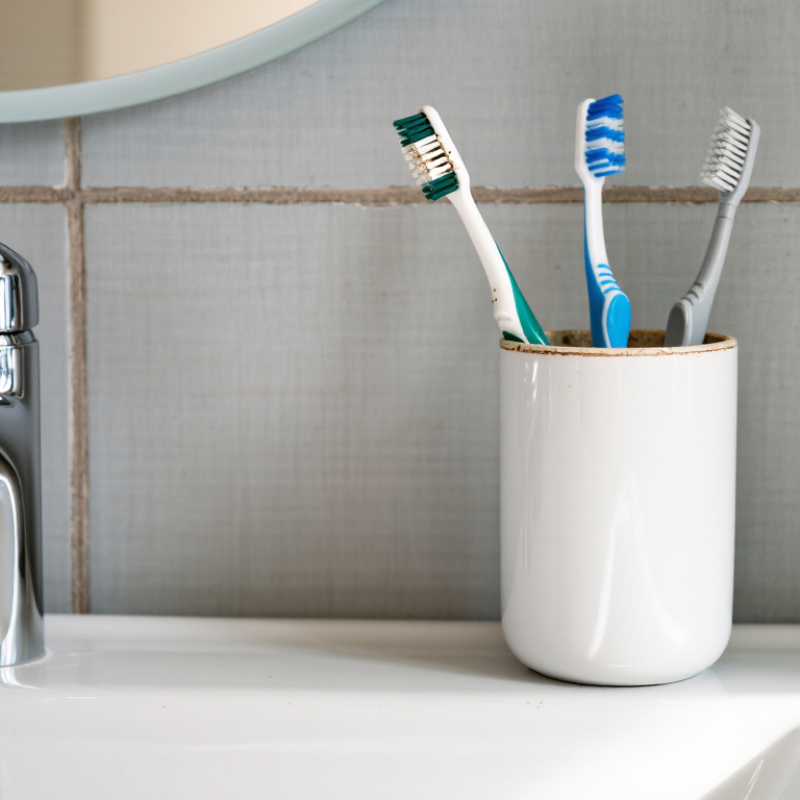
Identify Mold and Contamination on a Toothbrush
Check the bristles, the brush head, and the narrow seams where the head meets the handle. Mold may appear as fuzzy spots or irregular patches in green, black, pink, or white. A slimy film, persistent discoloration, or a musty smell can also signal buildup. Look especially between bristle tufts, where moisture and toothpaste residue can linger. Small marks are easy to misread. A stain may be residue, not mold, and appearance alone cannot confirm what is growing.
Contamination is not always visible. Bacteria and other microbes can remain on a brush without changing its color or smell, so a clean-looking brush is not necessarily sterile. Notice whether it stays damp for hours, touches another brush, or sits in a closed holder with pooled water. Those conditions make a closer check sensible. Even a careful inspection has limits. If you see fuzzy growth, feel a persistent slimy coating, or cannot remove an unusual odor with rinsing, replace the toothbrush rather than trying to rescue it. Avoid harsh cleaners; they may leave residues and do not reliably make a brush safe. After use, rinse away visible paste and let the brush air-dry upright, with space around it.
Decide Whether to Replace or Clean the Toothbrush
If you see mold on a toothbrush, replacing it is usually the safer choice. Mold can collect between bristles or in small seams that are difficult to inspect. Rinsing the brush may remove visible residue, but it cannot confirm that every contaminated spot is gone. It can feel wasteful. Still, a new brush is a more reliable option than trying to salvage a moldy one.
Replace the brush if you notice fuzzy growth, persistent dark spots, or a musty smell. Do not use bleach or boiling water to clean it; these can damage the bristles, and they do not make a moldy brush reliably safe. If the toothbrush looks clean but its holder is moldy, clean and dry the holder before placing a replacement inside. Check with a dental professional if you are unsure, especially if you have health concerns.
Tips: After brushing, rinse the bristles and shake off excess water. Store the toothbrush upright, uncovered, and where air can circulate. Keep brushes from touching, and wash the holder regularly. If mold keeps returning, look for lingering moisture or poor ventilation. Don’t seal a wet brush in a closed container.
Clean the Toothbrush Holder and Surrounding Area
Mold on a toothbrush can be a sign that its holder stays damp. Remove the toothbrush, then empty and wash the holder with hot, soapy water. Scrub inside corners and drainage holes with a small brush. Rinse well and dry completely. If the holder is dishwasher-safe, use that option. Otherwise, follow its care instructions.
The nearby counter, sink edge, and wall behind the holder also need attention. Wipe them with detergent and water, then dry with a clean cloth. Check grout lines and seams for lingering moisture. NSF International’s 2011 Household Germ Study found coliform bacteria in 27% of toothbrush holders across 22 homes. That finding is not a mold measurement, but it shows why holders deserve regular cleaning. Ventilation matters, too. A crowded, wet counter dries slowly.
Tips: Clean the holder weekly and whenever residue appears. Keep toothbrushes upright, separated, and away from pooled water. Don’t mix cleaning products. If mold keeps returning, inspect for a leak or poor airflow; wiping alone may not fix the cause. I’d recheck the area after it dries—small damp spots are easy to miss.
How to Remove Mold from a Toothbrush? - Clean the Toothbrush Holder and Surrounding Area | Area or Item | What to Do | Useful Details |
| Toothbrush with visible mold | Discard it and replace it with a new toothbrush or brush head. | Cleaning a visibly moldy brush is not a reliable way to make it suitable for use. Do not apply household bleach or other surface disinfectants to a toothbrush. |
| Toothbrush holder or cup | Remove the toothbrushes, wash the holder with warm water and dish soap, and scrub corners and drainage holes with a clean brush. | Rinse thoroughly and let it dry completely. A dishwasher may be used only if the holder is labeled dishwasher-safe. |
| Holder that cannot be cleaned | Replace it if mold remains after cleaning or if its surface is damaged or difficult to reach. | Porous or cracked materials can be harder to clean thoroughly than smooth, nonporous surfaces. |
| Countertop and nearby surfaces | Wipe away toothpaste residue and visible dirt with soap and water. If disinfection is needed, use a product labeled for that surface. | Follow the product label for application and contact time, and provide ventilation. Never mix cleaning products, especially bleach with ammonia or acids. |
| Toothbrush storage | Store brushes upright and allow them to air-dry between uses. | Keep brush heads from touching one another. Avoid closed containers for a wet toothbrush, since trapped moisture can encourage microbial growth. |
| Cleaning routine | Wash the holder regularly and whenever you notice residue, standing water, or mold. | Empty and dry the holder after cleaning. A consistent routine helps reduce moisture and buildup. |
Disinfect a Reusable Toothbrush and Rinse It Thoroughly
If you see fuzzy spots, dark specks, or a musty smell on the bristles, replace the brush head. Mold can hide where bristles meet the base, so surface rinsing may not remove it. Keep the reusable handle if it is intact and designed for reuse. Wash it with warm, soapy water, then use only a disinfecting method approved by its manufacturer. Never mix cleaning products.
Rinse the brush head thoroughly under clean running water after brushing. If the manufacturer permits soaking, follow its stated disinfectant, concentration, and contact time; rinse again afterward. Shake off droplets and store the brush upright in open air. A closed travel cap traps moisture.
Small detail, big difference. The American Dental Association advises replacing toothbrushes every three to four months, or sooner when bristles become frayed. A 2012 review in Nursing Research and Practice found that toothbrushes can carry microorganisms, though contamination alone does not show that they cause illness.
If mold returns, discard the affected head rather than repeatedly treating it. Honestly, replacing it can feel wasteful, but bristles are difficult to inspect and clean completely. Avoid bleach or unapproved chemicals, which may leave harmful residues or damage the brush.
Dry and Store the Toothbrush to Prevent Mold Growth
After brushing, rinse the toothbrush well under running water to remove toothpaste and debris. Flick off excess water over the sink, then place it upright with the bristles pointing up. Let it breathe. Avoid putting a cap over a damp brush or closing it inside a drawer; trapped moisture can encourage mold and bacterial growth. A brush may feel dry on the handle while its bristles are still wet.
Choose an open holder in a spot with good airflow, away from direct sink splashes. Keep toothbrushes from touching each other, especially when someone at home is ill. If the bathroom stays humid, a shelf outside the shower’s splash zone may help. Small details matter. I used to think an upright cup was enough, but a crowded holder can stay damp around its base.
Wash the holder regularly with hot, soapy water, then let it dry fully before returning the toothbrushes. Check the bottom for pooled water or slimy residue; both are easy to miss during a rushed morning. If you see mold on the toothbrush, replace it rather than trying to scrub the bristles clean. Clean and dry the holder before storing a new brush. This routine is simple, though it can be easy to forget after a late night.
