2026 Best Automotive Spot Welder for Car Repair
A clean factory-style weld is not made by power alone. An automotive spot welder must deliver stable current, controlled pressure, and repeatable results across the metal thicknesses found in real repairs. On a stripped door shell, that may mean joining thin steel without burn-through. On a reinforced panel, the same machine must form a dependable weld through a different material stack. Small details matter: arm reach, electrode access, cooling, and setup time can shape the repair as much as the advertised output.
Automotive welding specialist Elena Brooks puts the key test this way: “A good spot welder makes the right weld repeatable, not merely possible.” This guide compares leading 2026 options by practical factors, including clamping force, duty cycle, controls, service support, and compatibility with modern vehicle steels. Specifications are useful, but they do not replace proper training, approved repair procedures, or test welds on matching materials. That caveat matters.
Some machines look impressive on paper. A crowded workbench tells a different story. We’ll examine which models suit collision shops, smaller repair facilities, and technicians with varied workloads. We’ll also note trade-offs, because no single automotive spot welder fits every budget or panel. A test coupon may expose limitations that a brochure misses. That is worth remembering.
What an Automotive Spot Welder Does in Car Repair
2026 Best Automotive Spot Welder for Car Repair
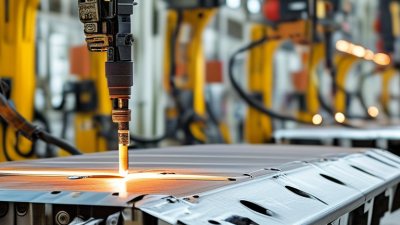
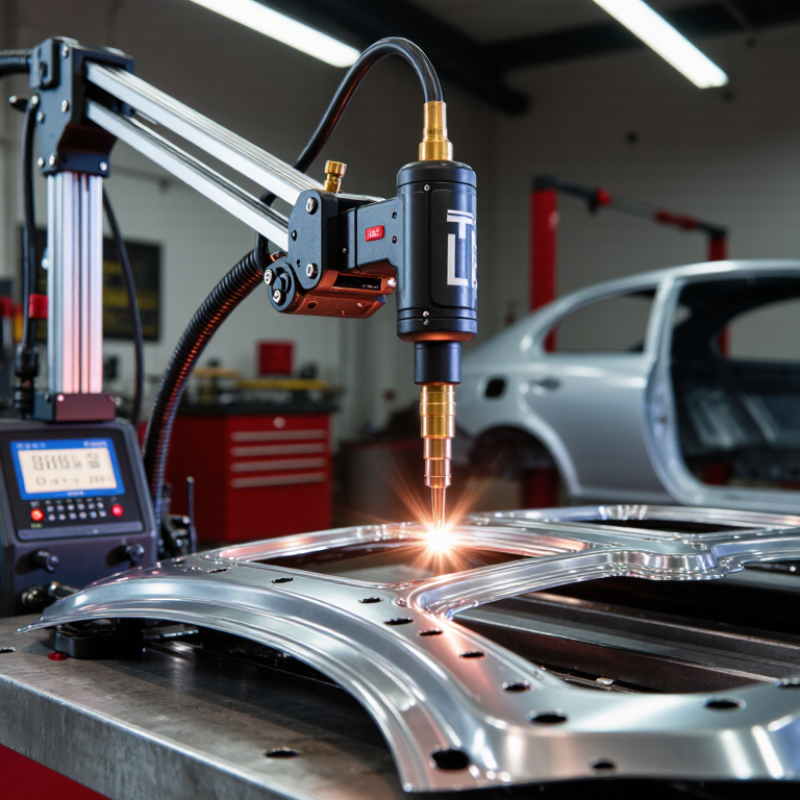
An automotive spot welder joins overlapping metal panels by pressing them together and passing electrical current through the contact point. Resistance creates localized heat, forming a small fused joint without laying a continuous bead. In car repair, this can help recreate factory-style welds on suitable body panels. Small, controlled joints. The tool is useful around door skins, quarter panels, and other areas where access allows both electrodes to reach the metal.
Good results depend on more than the machine. Panel fit, metal thickness, electrode condition, and clean contact surfaces all affect the weld. Remove coatings where repair procedures require it, and follow the vehicle’s service information for weld locations and spacing. Test settings on matching scrap first; a weld that looks tidy may still be weak. That part is easy to overlook. Inspect sample welds and adjust pressure or current as needed. Spot welders are not right for every metal, joint, or repair, so confirm compatibility before use. Proper eye protection and safe handling matter, too. A little unevenness in practice is normal, but the finished joint should meet the repair specification—not just look convincing.
Main Types of Automotive Spot Welders and Their Uses
Automotive spot welders serve different repair tasks, and the right type depends on panel access, metal thickness, and the joint being restored. A squeeze-type resistance welder uses opposing electrodes to clamp and join overlapping sheet metal. It suits factory-style seams on doors, quarter panels, and floor sections. Electrode shape matters. A narrow arm can reach some flanges, while a bulky one may not fit behind a panel.
Portable welders are useful when a vehicle cannot be positioned near a fixed machine. Their cables and arms can make awkward repairs possible, though cable length and electrode pressure affect consistency. Bench or pedestal models work well for smaller parts that can be brought to the welder. For outer-panel dents, a stud-welding tool attaches small pins or washers so the metal can be pulled outward. That tool repairs the surface; it does not recreate a structural spot-welded seam. Not always an obvious distinction.
Before joining panels, check the vehicle’s repair information for the specified weld locations and process. Clean contact areas and make test welds on matching scrap metal. Inspect the nuggets by destructive testing when practical. Coatings, panel thickness, and access can change the result. A machine setting that looks right may still produce a weak joint, so verify the weld rather than trusting appearance alone.
Key Features and Specifications to Compare in 2026
For automotive panel repair in 2026, compare a spot welder by its working range, not its headline power alone. Check the stated welding current, available modes, and supported sheet thickness. The machine must suit the metal layers in the repair procedure. More power is not automatically better.
Electrode force and arm reach matter at the workbench. Look for adjustable pressure and arms that can reach the joint without twisting the panel. Compare the duty cycle, too; a low rating may mean frequent cooling breaks during repeated welds.
Small details count. Replaceable tips and straightforward alignment checks can save time, though worn tips still need regular attention.
Review the controls and electrical requirements before choosing a unit. A readable display, repeatable settings, and clear fault indicators help reduce guesswork between test welds. Check whether the supply matches your workshop, and confirm the unit’s cooling and service requirements.
Specifications can look tidy on paper; real panels are less tidy. Test on matching scrap metal, inspect the welds, and follow the vehicle maker’s repair procedure.
How to Choose a Spot Welder for Your Repair Work
Choosing a spot welder starts with the repairs you actually handle. Note the metal type, panel thickness, and access around each joint. A machine’s maximum thickness rating can be misleading; it may describe clean, flat sheets rather than layered repair panels. Fit matters. Check whether the arms can reach the joint without pressing against nearby flanges or trim.
Look at throat depth, electrode shape, adjustable current, and duty cycle. A long-reach arm can help on wide panels, while short arms may feel steadier in tight spaces. The electrodes should meet squarely, with enough force to hold the panels together. Controls matter too: repeatable settings make it easier to work across several similar joints. Bigger is not always better. I might still overlook arm clearance when comparing specifications, so a hands-on fit check is worth the time.
Before working on a vehicle, test settings on scrap with the same metal and layer arrangement. Check the weld, not just its surface appearance; a neat mark does not prove a sound bond. Follow the vehicle’s repair procedure, especially for structural areas, and use suitable eye and hand protection. Test first. A few practice welds can reveal poor alignment or inconsistent pressure before either becomes a repair problem.
Safe Setup and Proper Spot-Welding Techniques for Vehicle Panels
2026 Best Automotive Spot Welder for Car Repair
Safe Setup and Proper Spot-Welding Techniques for Vehicle Panels
Safe panel welding starts before the electrodes touch metal. Read the vehicle maker’s repair procedure; modern panels may use different steel grades and thicknesses. Secure the vehicle, clear flammable materials, and check the welder’s cables, electrode tips, and cooling system. Use suitable eye and hand protection. Keep extraction close to the weld, especially when coatings may produce fumes. Small details matter. The Auto/Steel Partnership’s resistance-spot-welding guidance cites 4√t millimeters as a common nugget-diameter check, where t is sheet thickness. For 0.8 mm sheet, that is about 3.6 mm; the vehicle procedure takes priority.
Tips: Clean both mating surfaces to bare metal where specified. Make test welds on matching scrap, then inspect the weld button or perform a peel test. Do not guess. Set pressure, current, and weld time to the material and machine guidance, not a generic chart.
Position the clamp squarely, with both sheets firmly seated and no visible gap. Keep hands clear of the electrode arms, and let the tips cool as directed. NIOSH’s Criteria for a Recommended Standard: Welding, Brazing, and Thermal Cutting describes welding fume and electrical hazards, reinforcing the need for ventilation and maintained equipment. After welding, inspect for burn-through, excessive indentation, and loose joints. I’d still recheck the settings after changing panel thickness; that easy step is often rushed.
| Stage | Check or action | Practical guidance | Safety and quality notes |
|---|---|---|---|
| 1. Confirm the repair procedure | Identify the panel material, thickness, coatings, and original joining method. | Use the vehicle maker’s current repair information to determine whether resistance spot welding is permitted and where welds may be placed. | Do not assume that every steel panel is weldable by the same method. Some ultra-high-strength steels and structural locations have restricted repair procedures. |
| 2. Make the vehicle safe | Follow the vehicle-specific electrical isolation procedure before welding. | For hybrid and electric vehicles, have a qualified technician isolate the high-voltage system as specified by the manufacturer. Protect or remove nearby trim and components when required. | Keep heat and sparks away from fuel, batteries, wiring, airbags, and combustible materials. Never weld near a high-voltage component unless the approved procedure allows it. |
| 3. Prepare the work area | Provide local fume extraction and remove flammable materials from the work zone. | Use suitable eye protection, welding gloves, protective clothing, and respiratory protection when required by the risk assessment. | Welding coated or galvanized steel can produce hazardous fumes. Ventilation and exposure controls are essential; do not rely on an open garage door alone. |
| 4. Select and inspect the welder | Choose a resistance spot welder with suitable access, electrode force, and capacity for the specified material stack. | Check cables, connections, cooling, electrode alignment, and the machine’s service condition. Set the machine using its approved material and thickness schedule. | There is no universal current, weld time, or force setting for vehicle repairs. Use the equipment instructions and vehicle-specific repair data. |
| 5. Prepare the joint | Fit the panels tightly and remove paint, adhesive, rust, and contamination from the weld contact areas as specified. | Use the correct panel flanges and clamp the parts so they remain in full contact. Apply weld-through primer only where the repair procedure calls for it. | Keep coatings out of the electrode contact area unless the welder’s approved schedule accounts for them. Avoid damaging adjacent panels while cleaning. |
| 6. Make a test weld | Test on matching material with the same number of layers and comparable surface condition. | Assess the test using the method specified by the repair procedure or equipment instructions. Adjust the schedule only within approved limits, then retest. | A visible mark alone does not prove a sound weld. Do not begin the repair until the test result meets the specified acceptance criteria. |
| 7. Apply the welds | Hold the electrodes square to the joint and maintain firm, consistent contact for each weld. | Replicate the original weld locations and spacing where directed by the vehicle maker. Keep the electrode tips clean and correctly shaped. | Do not substitute a generic spacing or weld count for the specified pattern. Stop if there is excessive expulsion, burn-through, poor fit-up, or inconsistent results. |
| 8. Inspect and protect | Inspect the completed joint and confirm that the panel fit and weld pattern match the approved repair procedure. | Restore corrosion protection, seam sealer, and cavity protection where required. Reinstall components and reconnect systems using the vehicle-specific procedure. | Document the repair and complete any required post-repair checks, including scanning or calibration procedures specified by the manufacturer. |
Note: Guidance is general. Vehicle materials, joining restrictions, weld patterns, machine schedules, and inspection criteria vary. The vehicle manufacturer’s repair information and the welding-equipment instructions take precedence.
Related Posts
-
What Is the Best Automotive Spot Welder in China?
-

Why is Automotive Welding Important for Vehicle Manufacturing?
-

2025 How to Choose the Right Resistance Spot Welder for Your Projects
-

Best Mini Spot Welding Machine for Efficient and Precise Metal Joining
-
Top 10 Automotive Spot Welders to Boost Your Production Efficiency?
-
Why You Need a Mini Spot Welding Machine for Your DIY Projects Today
Contact us
Please fill out the enquiry form, and our dedicated team will promptly attend to your request