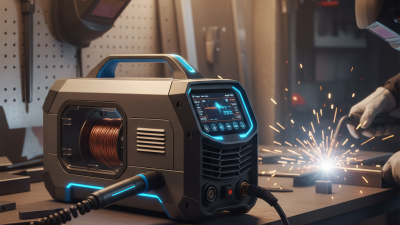
How to Choose the Best MIG Welding Equipment?
Choosing the right mig welding equipment starts with the work in front of you, not the biggest number on a product label. A small home workshop repairing brackets has different needs from a fabrication shop joining thick steel all day. Consider the metals, their thickness, how often you will weld, and where the machine will operate. A unit that handles common mild-steel projects may not suit aluminum work or frequent production use. Details matter.
Power supply is a practical first check. Confirm that the machine matches the outlets available in your workspace, then compare its output range and duty cycle with your expected jobs. Duty cycle describes how long a welder can run within a set period before needing to cool. That pause matters. Feed quality matters, too: steady wire movement helps make the arc more consistent and can reduce frustrating starts and stops. Check what the machine includes, such as a gun, ground clamp, regulator, and compatible wire-feed components. Package contents vary, so verify rather than assume.
The best choice is not automatically the most powerful or expensive one. It should fit your material, skill level, budget, and plans for future projects. I have seen buyers focus on amperage and overlook setup, consumables, or available power; those details can turn a promising machine into a poor fit. A little comparison helps. This guide explains the key features to assess, questions to ask before buying, and trade-offs worth considering. No single model suits everyone, and that is worth remembering.
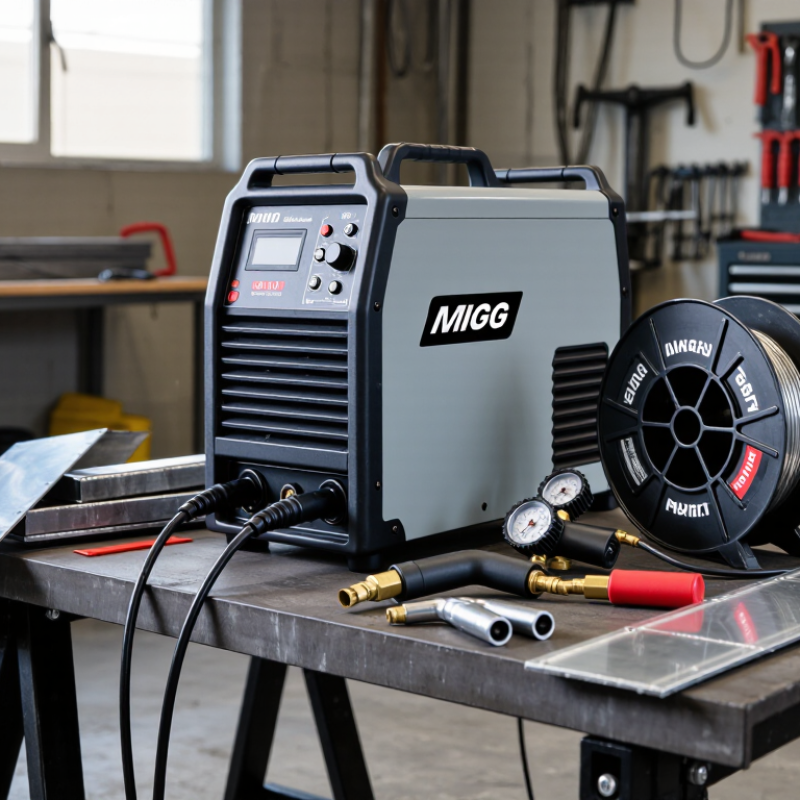
Identify Your Welding Tasks, Materials, and Work Environment
How to Choose the Best MIG Welding Equipment?
Identify Your Welding Tasks, Materials, and Work Environment
Before comparing machines, list the jobs you expect to do. Repairing thin sheet metal, building a garden gate, and welding heavy brackets require different output ranges. For occasional repairs, a compact unit may be enough. Repeated work on thick material calls for greater output and a suitable duty cycle. A machine that pauses often can slow longer welds. It is easy to overestimate what you need.
Match the equipment to your materials and workspace. Mild steel, stainless steel, and aluminum require different wire and setup choices. Check the usable amperage range, wire-feed control, and power requirements. A standard garage outlet may limit your options. Outdoors, wind can disrupt shielding gas, so flux-cored wire may be more practical, though cleanup can take longer. Thin sheet metal also punishes excessive heat. Check the label.
Tips: Note your thickest and thinnest materials, typical weld length, available power, and whether you work indoors. Compare those details with the machine specifications and recommended wire sizes. Leave room to reassess.
Compare MIG Welder Types, Power, and Duty Cycle
Choosing the best MIG welding equipment starts with the work you expect to do. For thin sheet metal and occasional repairs, a compact 120-volt machine may offer enough control and easy portability. Heavier steel generally calls for a 240-volt model with greater output. Small jobs differ. Also compare gas-shielded MIG, which suits clean indoor work, with flux-cored wire, which can be more practical outdoors but leaves more slag to remove.
Tips: Check the machine’s rated output, compatible wire sizes, and required circuit before buying. Match these details to your usual material thickness, not an occasional ambitious project.
Power ratings matter only when the machine can sustain them. A duty cycle describes how long it can weld within a ten-minute period at a stated amperage. For example, a 30% duty cycle means roughly three minutes of welding, followed by cooling time. Heat builds quickly. Compare duty-cycle figures at the amperage you will actually use; figures at lower settings may look impressive but tell you less about demanding work. Leave some capacity for future projects, while remembering that a larger welder may need a suitable outlet and heavier wiring. A common mistake is choosing by maximum amperage alone. The right balance depends on your material, workspace, and how continuously you weld.
How to Choose the Best MIG Welding Equipment? - Compare MIG Welder Types, Power, and Duty Cycle
| Welder type | Typical input power | Typical output range | Indicative duty cycle | Best suited for | Key considerations |
|---|---|---|---|---|---|
| Compact 120 V MIG | 120 V, single-phase | About 20–140 A | Often around 20% at higher output | Home projects, light repairs, and thin-gauge steel | Convenient household power; limited maximum output and slower work on thicker material. |
| Dual-voltage inverter MIG | 120/240 V, usually single-phase | About 20–200 A, depending on input voltage | Often around 20–40% at rated output | Garage workshops, maintenance, and mixed light-to-medium fabrication | 240 V input generally allows higher output. Check the required outlet, circuit rating, and plug. |
| Transformer-based MIG | Commonly 230 V or 460 V; single- or three-phase models exist | Varies widely; commonly about 150–300 A | Model-dependent; often designed for sustained shop use | Repair shops and fabrication work where a durable, conventional power source is suitable | Often heavier and less portable than inverter machines. Compare rated output and duty cycle rather than type alone. |
| Industrial inverter MIG | Usually 230 V or 460 V; three-phase options are common | Commonly about 250–500 A, depending on the model | Often 60–100% at specified output | Production welding, heavy fabrication, and longer welding runs | Higher output may require a dedicated circuit and suitable wire feeder, torch, and shielding-gas setup. |
| Pulse-capable MIG | Typically 230 V or higher; check the specific machine | Varies by machine; available across some medium- and high-output models | Model- and output-dependent; consult the rated specification | Applications that benefit from controlled heat input, including some aluminum and out-of-position welding | Pulse is a process feature, not a power rating. Confirm material, wire, gas, and process compatibility. |
Note: Figures are indicative ranges for equipment classes, not guarantees for every machine. Duty cycle is the percentage of a 10-minute period that a welder can operate at a stated output before cooling is required; for example, 20% means 2 minutes of welding followed by 8 minutes of cooling. Always compare the manufacturer’s duty-cycle rating at the amperage you expect to use.
Evaluate Wire Feeders, Gas Options, and Essential Features
How to Choose the Best MIG Welding Equipment?
A steady wire feeder matters as much as the power source. Check whether its drive rolls match your wire diameter and material. A smooth feed reduces bird-nesting and uneven beads, especially when welding thin sheet. Test the trigger, spool tension, and liner path with a short run before buying. Small details matter.
Choose shielding gas for the metal and transfer method. Argon-rich blends generally support stable arcs on steel, while pure carbon dioxide can produce deeper penetration and more spatter. For aluminum, use argon and compatible feed components. The American Welding Society’s 2023 welding workforce report projected demand for 360,000 welding professionals by 2027; straightforward controls can help new operators learn consistent settings. Still, a gas chart is only a starting point. Joint fit and drafts can change results.
Tips: Look for adjustable wire speed and voltage, clear duty-cycle ratings, thermal overload protection, and accessible consumables. Ask to run the machine on your own material. Watch the arc, listen for irregular feeding, and inspect the bead. I still double-check the setup; a neat control panel cannot fix poor fit-up.
Match Equipment Capacity to Budget and Future Needs
Match a MIG welder’s output to the work you actually do, not the thickest piece you might weld once.
Check its rated amperage and duty cycle at the settings you expect to use. A machine rated for higher output may still need cooling breaks during long welds. That matters. For thin sheet, stable low-amperage control can be more useful than maximum power.
Set a realistic budget that includes more than the welder. A suitable torch, ground clamp, regulator, protective gear, and replacement contact tips can add up.
Also check the available electrical supply before buying; a machine’s highest output is only useful if your circuit supports it. Keep some money aside for wire and gas. It is easy to overlook these costs.
Think about likely projects over the next few years.
If you repair light equipment now but may work with thicker steel later, choose enough capacity for that change without paying for industrial output you may never use. Compare the machine’s input requirements, wire-feed adjustment range, and stated duty cycle. A little extra headroom can help, though more capacity is not automatically better. Write down the materials and thicknesses you use most, then compare them with the manufacturer’s operating specifications. Your estimate may be imperfect; revise it before spending.
Check Safety, Setup Requirements, and Ongoing Maintenance
How to Choose the Best MIG Welding Equipment?
Check Safety, Setup Requirements, and Ongoing Maintenance
A suitable MIG welder should match your work area, material thickness, and available power. Before buying, check the machine’s input requirements and duty cycle against your actual projects. Safety matters just as much. Plan for effective ventilation, a correctly rated welding helmet, gloves, and flame-resistant clothing. Keep flammable items away, and secure the shielding-gas cylinder upright. Inspect the torch cable, ground clamp, and gas hose for wear before each session. Small checks matter.
Tips: Test the setup on scrap metal first. Confirm wire type, wire diameter, polarity, and feed settings using the wire maker’s guidance. A rough or uneven bead may point to a setup issue, not a faulty machine. Keep the workpiece clean and dry; even a thin layer of oil can spoil the weld.
Ongoing maintenance affects both safety and weld quality. Disconnect power before cleaning or servicing the machine. Remove spatter from the nozzle, and check contact tips for wear or blockage. Look for flattened wire, damaged liners, loose connections, or cracked hoses. Replace worn parts before they cause erratic feeding. It is tempting to skip routine checks when the welder seems fine, but small problems can build quietly. Record simple maintenance dates, and follow the equipment manual for service intervals.
Related Posts
-
2026 Top MIG Welder Options for Professional and DIY Projects?
-
Top MIG Welding Equipment for Global Buyers?
-
How to Choose the Best MIG Welder in 2026?
-
Top 10 MIG Machines for Global Buyers in 2026?
-
Understanding the Essential Components of MIG Welding Equipment for Beginners
-
How to Choose the Best Cheap Mig Welder for Your Welding Projects
Contact us
Please fill out the enquiry form, and our dedicated team will promptly attend to your request